How to Create a Lease on Elev
This document walks you through the steps of creating a lease on Elev.

Maurine
Last Update 4 tahun yang lalu
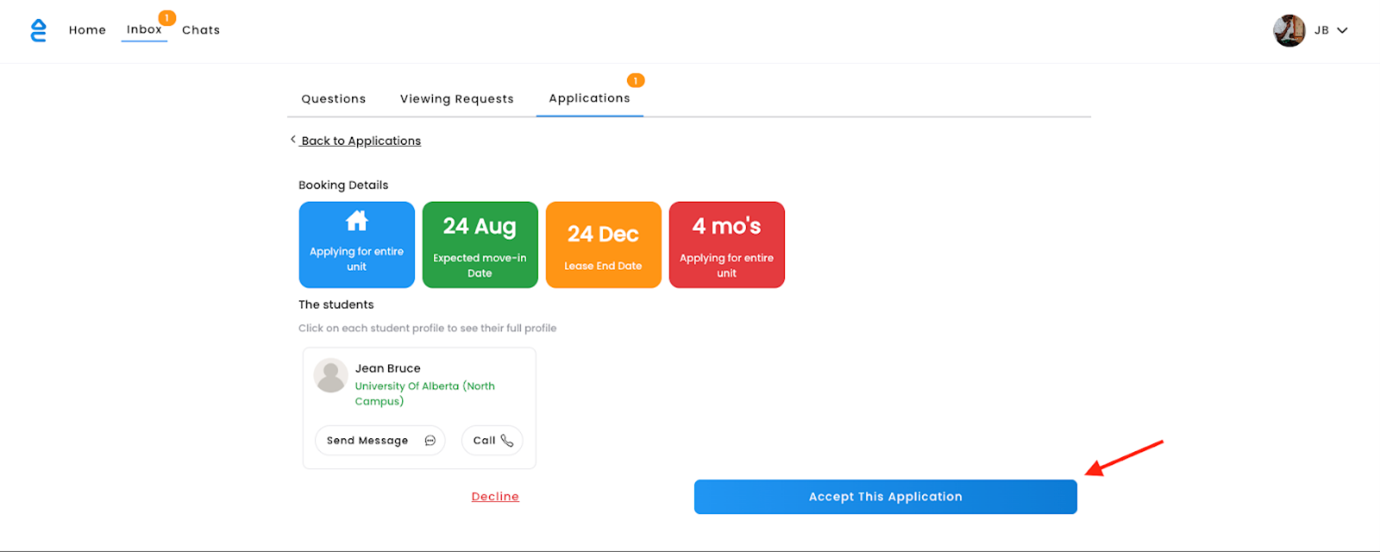
1. Prior to creating the lease, you will need to accept the Application from the student(s) by clicking on “Accept This Application”. Rest assured, accepting the application allows you to review the documents provided by the applicant, communicate further with them and determine whether you want to move forward with them. If after communicating and reviewing the information provided, you are still unsure of the applicant, you can always decline the application.
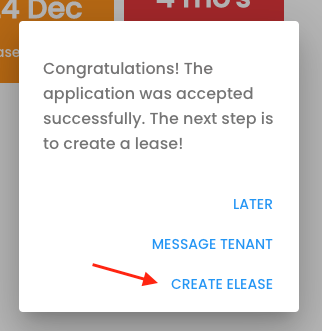
2. After reviewing and accepting the application, click on “Create E-lease” from the prompt to create the lease.
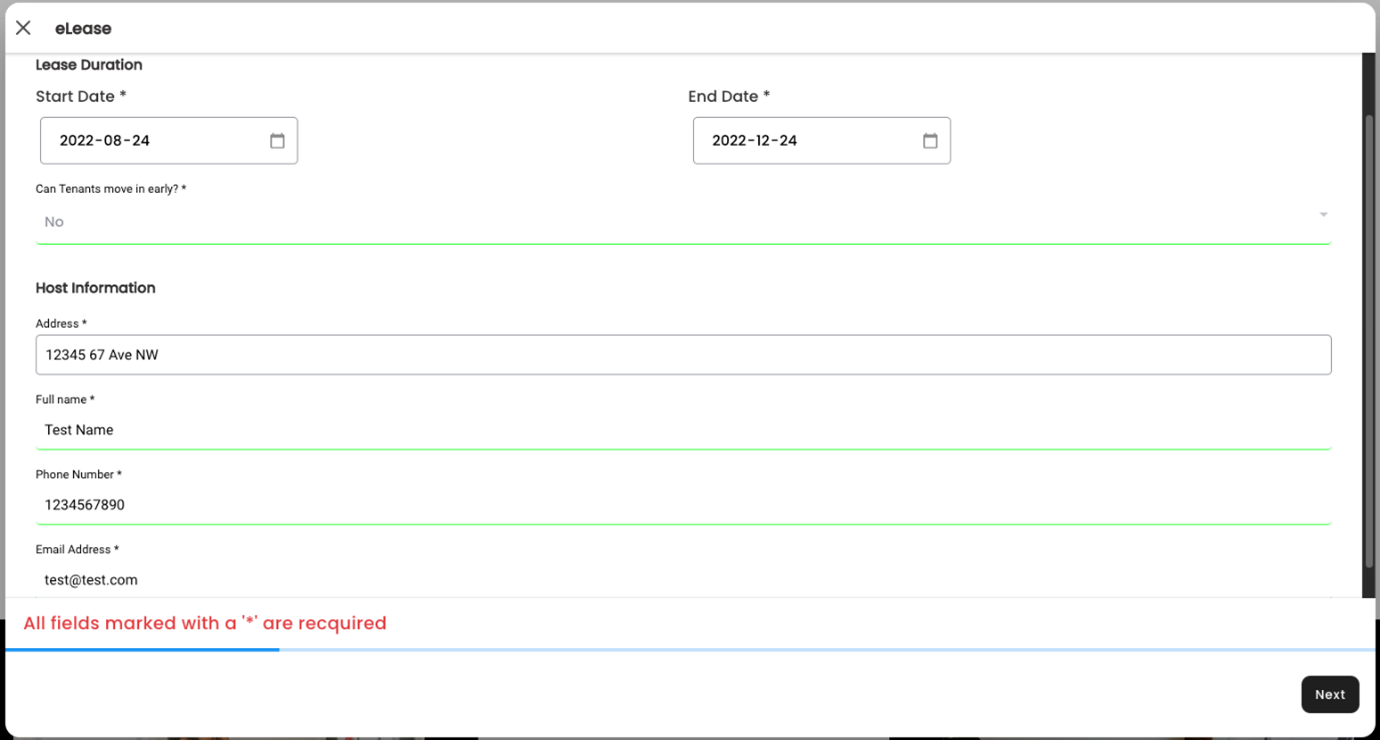
3. You will be prompted to enter some information about the lease. At the first stage, you will need to provide information about the Lease Duration, the Host (i.e. address, name, phone number and email). This information is already populated with the information you have provided when listing the property, so you will need to review it and confirm that it is accurate. You can always edit it where you see fit. When done, click on “NEXT” at the bottom right of the screen to move to the next step.
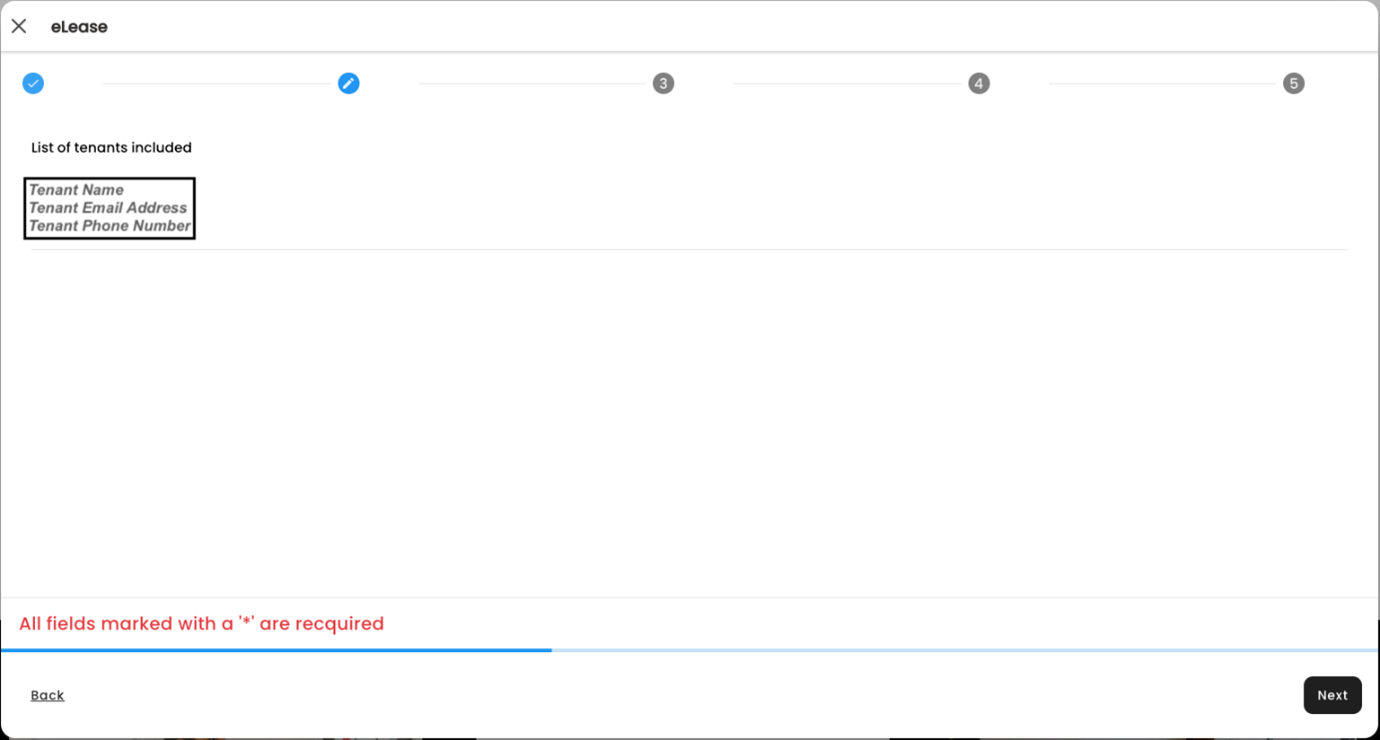
4. Next, you will need to review the information on your future tenant(s). When done, click on “NEXT” at the bottom right of the screen to move to the next step.
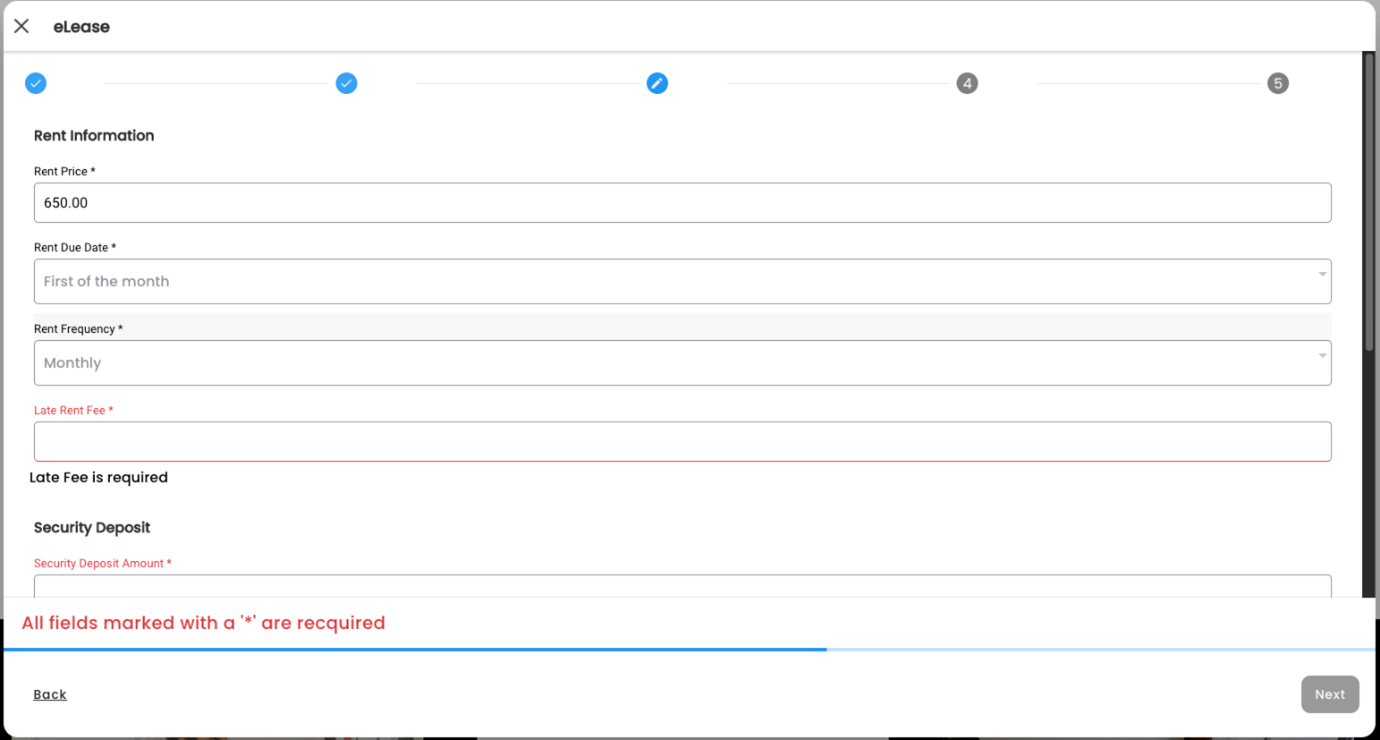
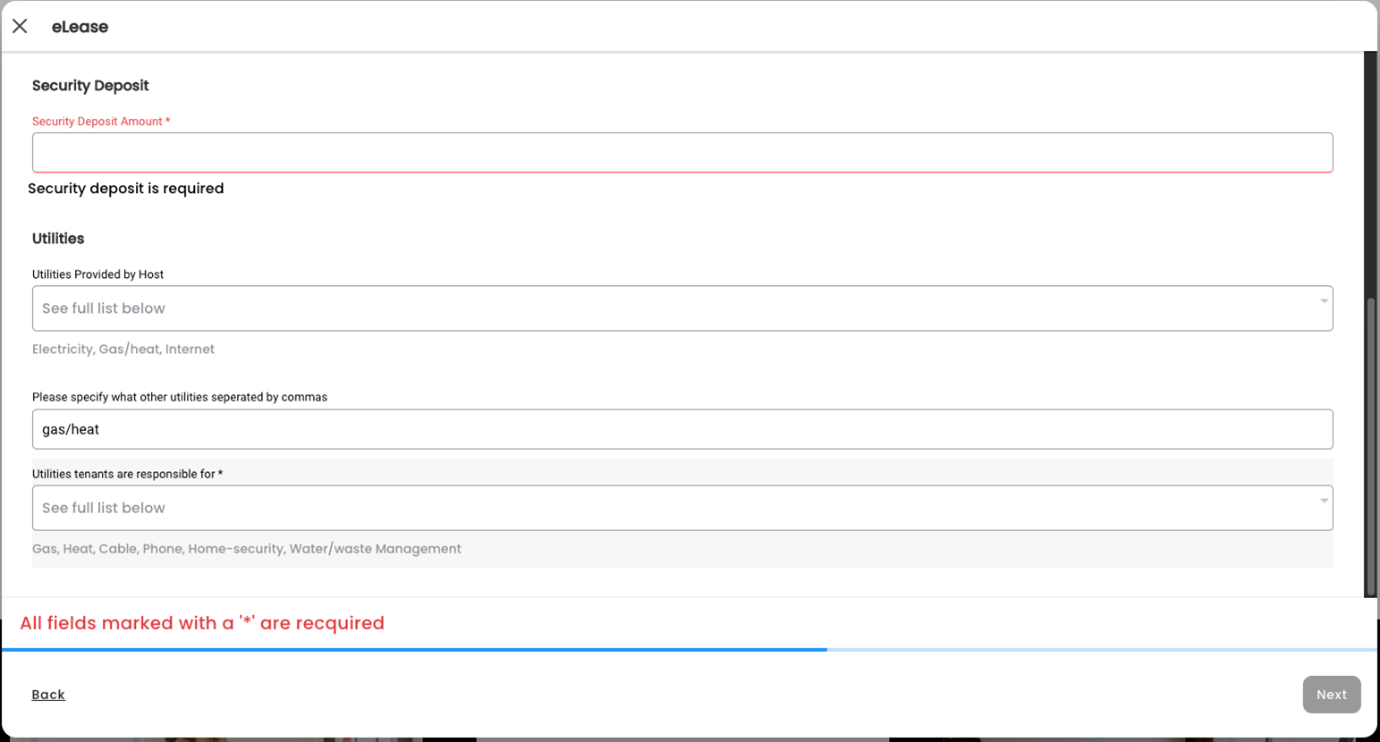
5. On the next screen, you will need to provide information on the Rent, Security Deposit and Utilities. Some of the information is already populated with the ones provided from the listing. If there is no Late Rent Fee and/or Security Deposit required, enter 0 in the space(s) provided. When done, click on “NEXT” at the bottom right of the screen to move to the next step.
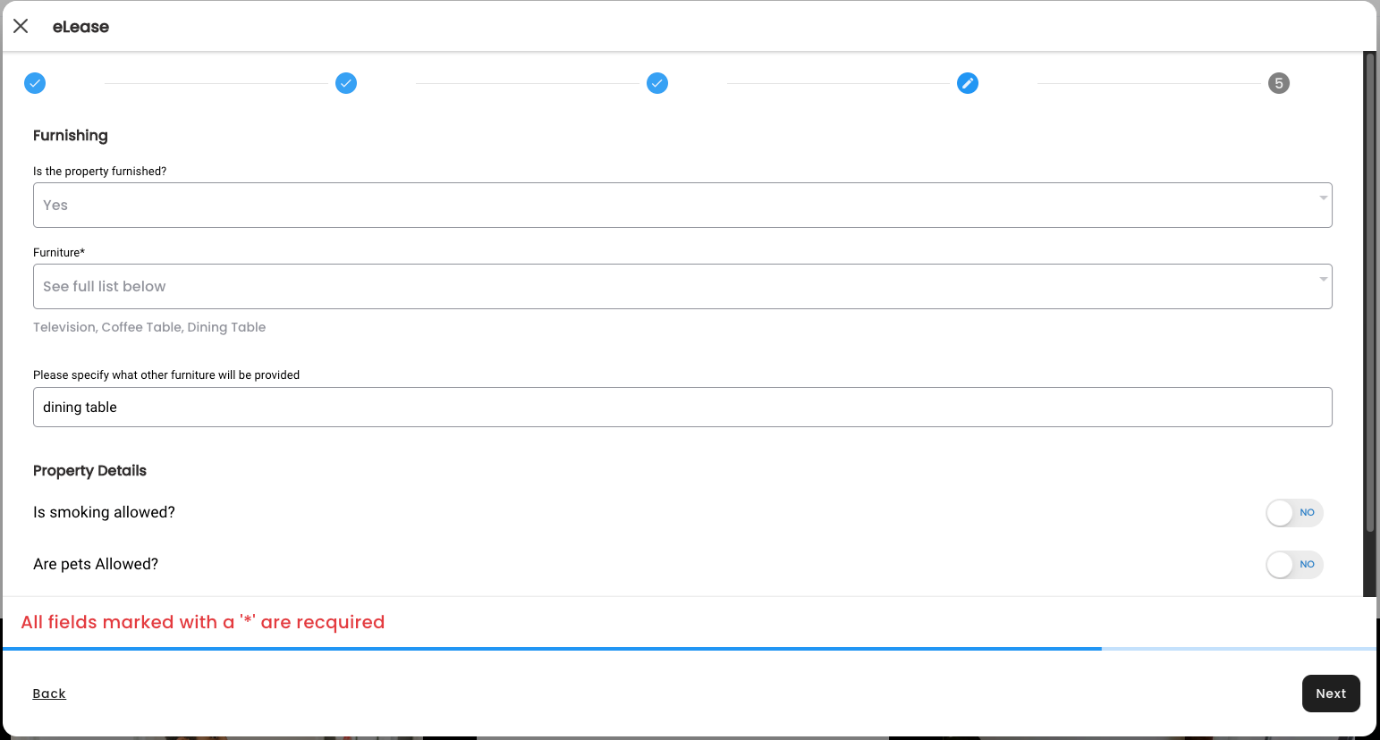
6. Next, you will need to provide information about the furnishing and additional details. Since the information has already been provided when listing the property, you will not need to enter new information. However you can review the information provided and make changes where you see fit. When done, click on “NEXT” at the bottom right of the screen to move to the next step.
7. On the final step, you can enter incentives, if there are any included. You can also personalize the lease agreement by entering additional terms. To do so, click on “Add Another Term” in the Additional Terms section. When satisfied with the information provided, make sure to certify the information by checking the box next to the “I certify that all information provided is accurate and concise”. When done click on “Submit” at the bottom right of the screen.

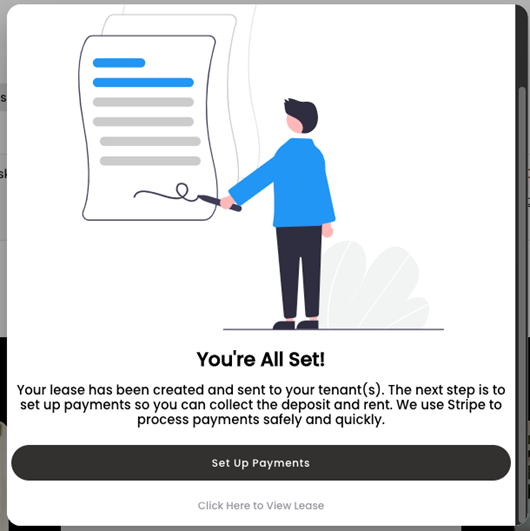
8. Congratulations - Your eLease has been created and sent to your tenant(s)! If you haven’t set it up yet, the next step is to set up payments to collect deposit and rent. If this is already done, you are all set! Your tenant(s) will review, sign the agreement and get back to you as soon as they can. You can also review the lease from your dashboard. Here is a sample lease agreement from a randomly generated listing.
9. If you have any questions or concerns, you can always contact us via this form or email us directly at [email protected].